Materials:
- 3/4" x 3/4" aluminum stock. I bought 2 12" pieces which is more than enough for a couple flubs in fabrication. Cost: $4.54 shipped from eBay (the seller I bought from is no longer on ebay).
- (4) 1/4-20 x 1" Stainless steel socket head cap bolts. Cost: $1.60
- (4) 1/4" stainless washers. Cost: $0.40
- Universal folding footpegs. Cost: $7.72 shipped from eBay (eBay pegs)
- 1/4-20 tap
- 13/64 (or #7) drill bit (to drill the holes to tap)
- 7/16 drill bit to counter sink 2 of the bolts
- Drill bit to drill the holes for the peg shaft. Size varies depending on what pegs you use.
- Drill bit for drilling the cross holes for the peg bolt. You'll be re-using the factory bolt. I don't recall off-hand what size it is, but you can match it to the stock pegs.

- Something to cut the aluminum with. I used a hack saw and cut by hand. It made for nice straight cuts.
- Drill or drill press. I highly recommend a drill press, but Tilos indicated that he did it with a hand drill. I had issues with drilling straight holes with the hand drill and ended up using an old drill press attachment I had for my drill to finish the project.
- Various sanding/polishing implements. I used a combination of a little mouse sander, a 4" grinder, and a hand sanding block to shape and polish.
- Starting with your aluminum stock:
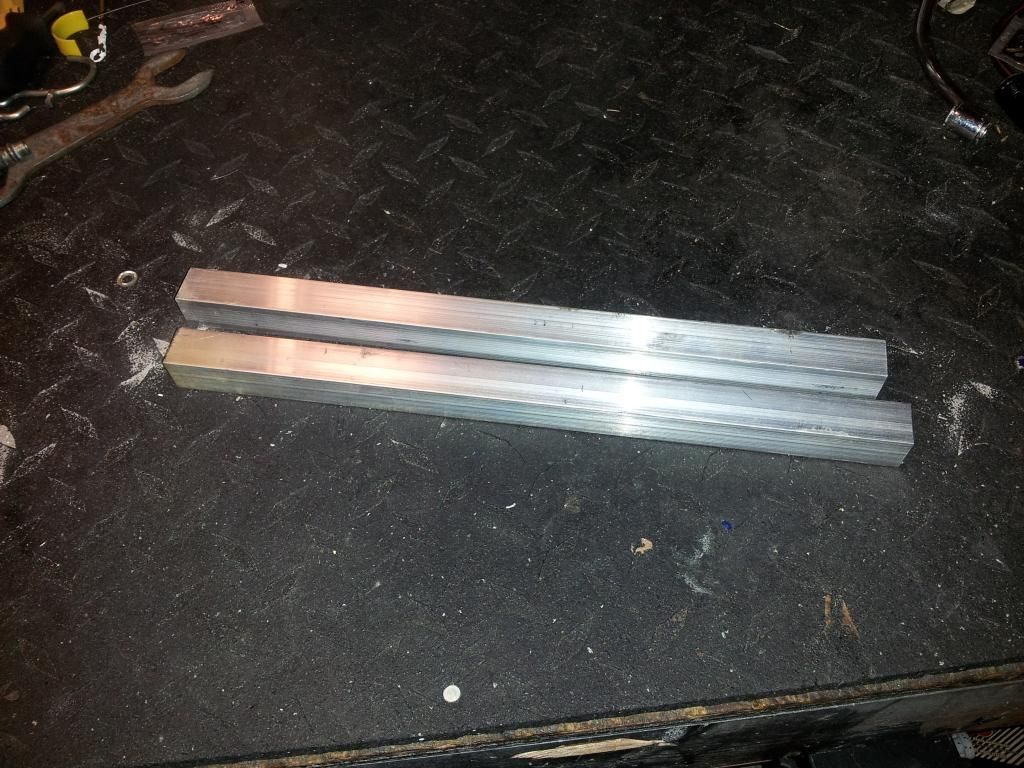
- Cut (2) 2" long pieces from each bar. These will be bolted to the longer piece to make it thicker and space it out a bit.
- I found it easier to clamp the 2 pieces together (short piece and long piece) and drill the 2 blind holes at once to keep them lined up nicely. Liberal sprays with WD-40 will help with the aluminum shavings and help lube your bit. Use the 13/64 drill bit for this. Space your holes about 3/8" from the ends. I want a little further and was REALLY close to drilling into the upper bolt when I cross-drilled for the mounting bolt.
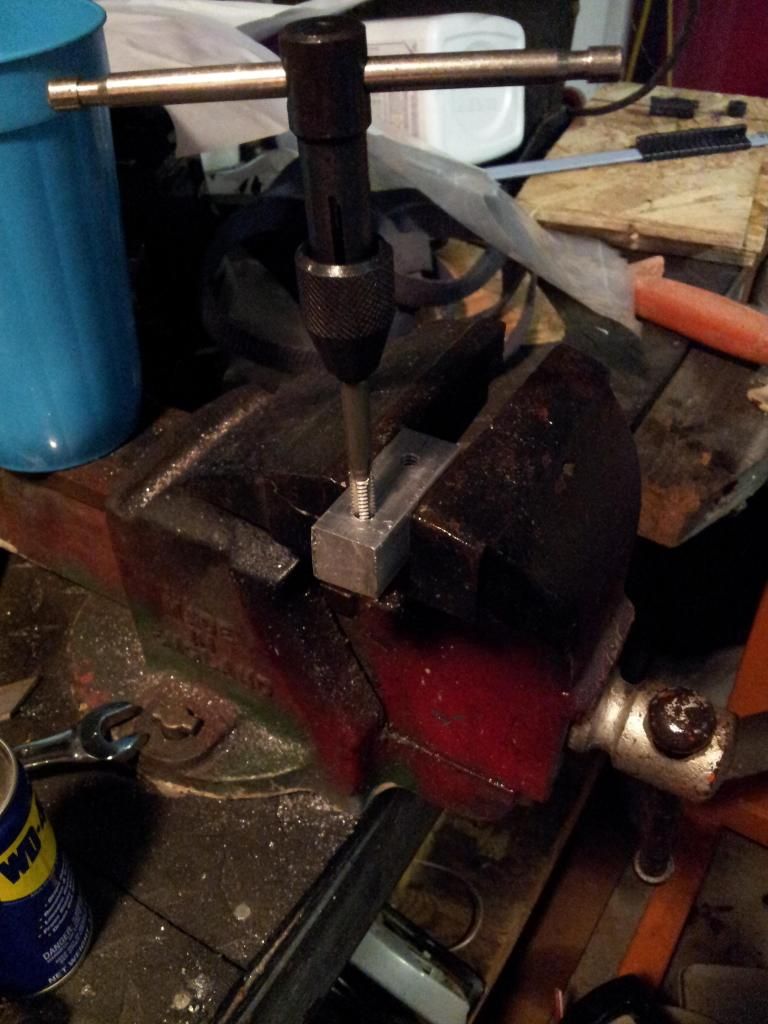
- Once the holes are drilled it's time to tap the holes. Again be liberal with the WD-40 and go slow. Tap a bit, then back the tap out and blow out any shavings. Rinse and repeat until you have the entire hole threaded. You can do the 2 pieces separately for this.
- Once all your holes are tapped, go back and counter sink the upper hole on each using your 7/16 drill bit. You can do this before you tap the holes, but I did it after. YMMV.
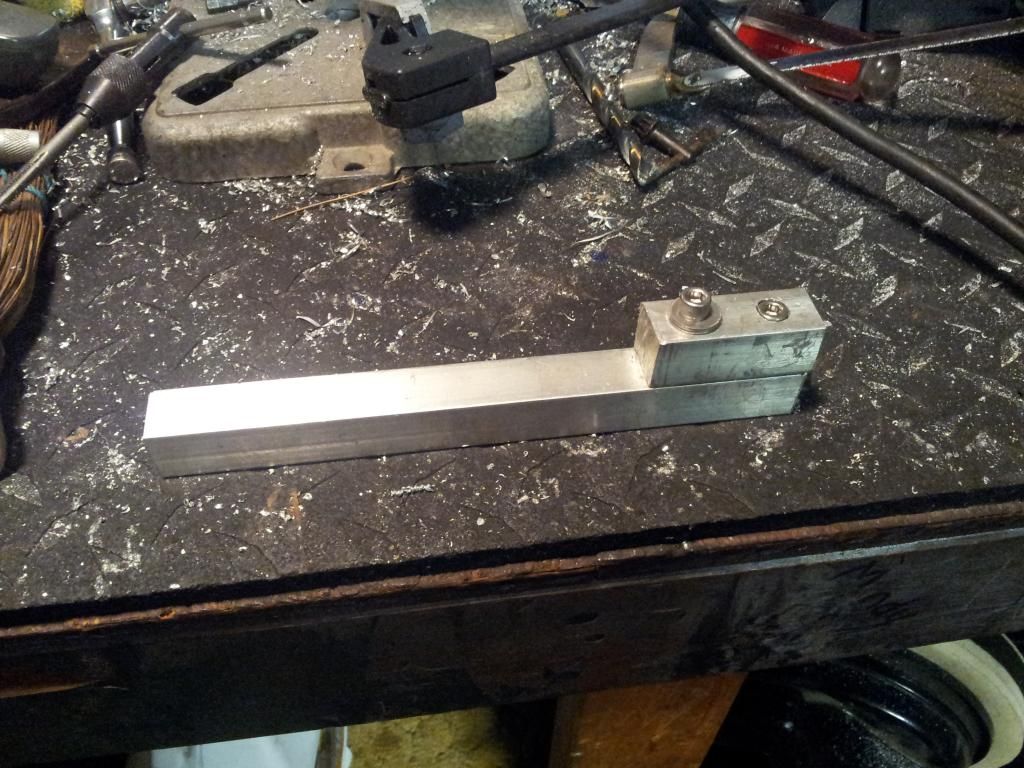
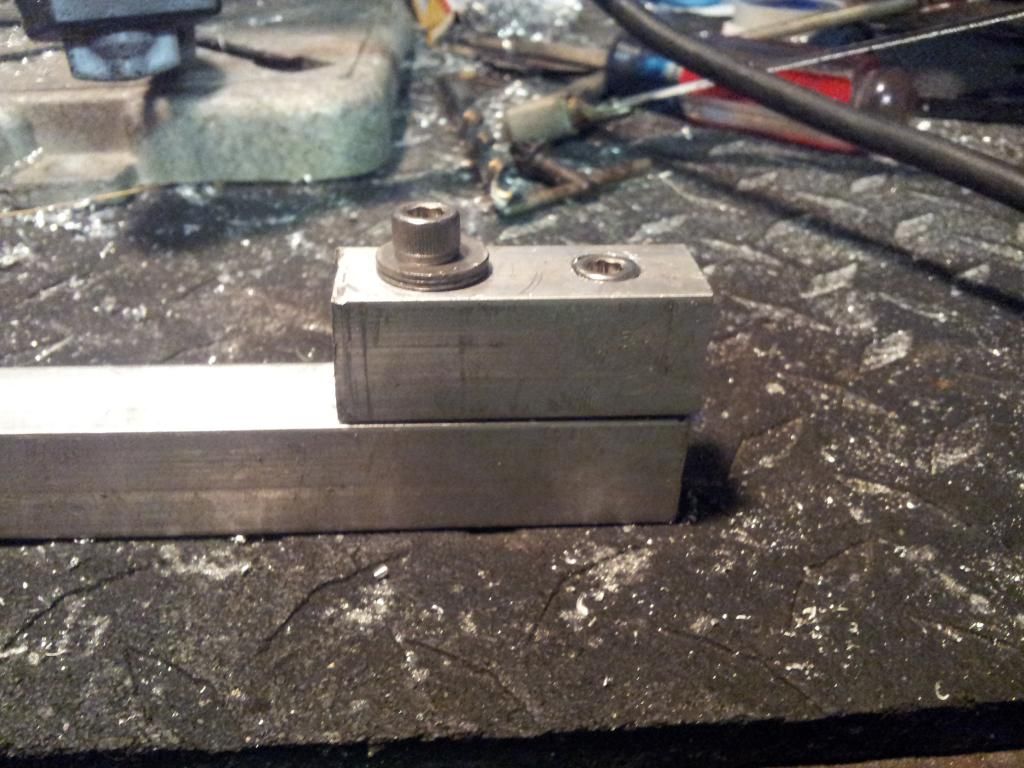
- Here are the 2 pieces bolted together. You'll see in the pics that the lower bolt has stacked washers, this is to angle the extension out a little to clear the driveshaft tube. 1 should do it, but I used 2 to be safe.
- Now go check fitment on the bike. With the new extension fitted into the peg bracket, mark your holes for the mounting bolt. Tip: the felt tube from inside a sharpie is just the right size for the hole.
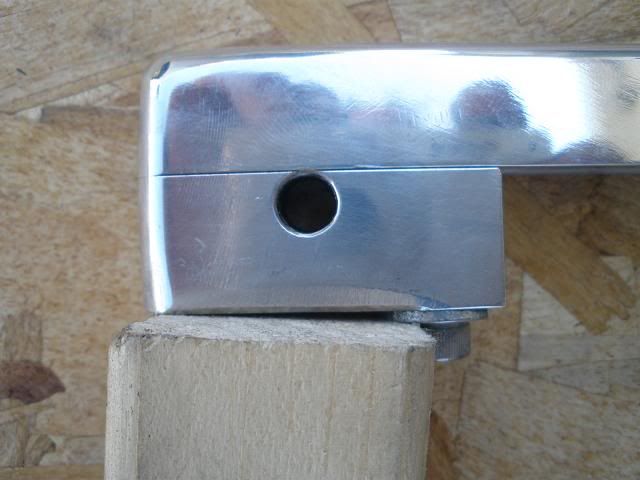
- Now back to the bench to cross-drill the mounting hole.
- This pic shows the hole drilled and also illustrates how the washers will space out the bottom for clearance. Pic credit goes to Tilos
- Once your mounting holes are drilled, check the fitment on the bike again. If everything fits nicely get your lady out and have her sit on the bike so you can determine how long you need to make the extensions. I did 6" total length, but after a 150 mile ride she said they were a little long so I'll be trimming them down a bit.
- I put one of the mounting bolts through both extensions and clamped them in my vise to ensure that the length was the same for both sides.

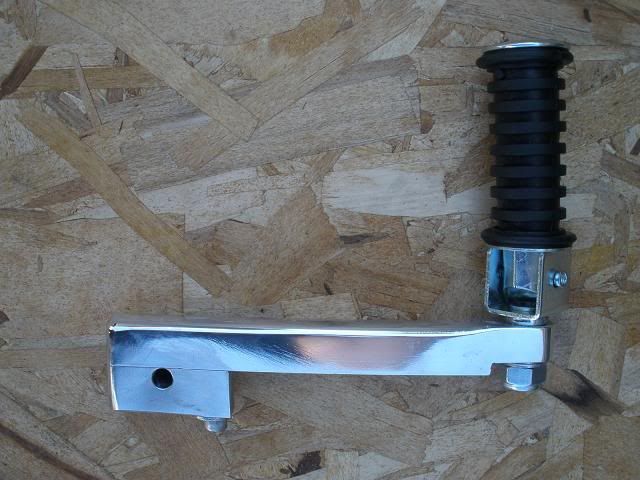
- Once your length is set it's time to add the new pegs. If you use the style I linked to, you'll need to thin out a section of the bar to allow for the mounting nut. Pic credit goes to Tilos
- Back to the bike for a final fit check.
- Now all that's left is final shaping and polishing. What you do here is entirely up to you.


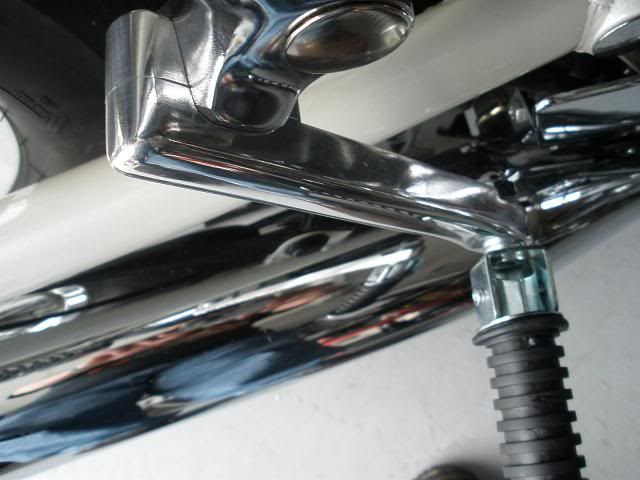
This is a pic of Tilos' extensions for reference. He obviously spent way more time and effort, and it pays off. His look great.
All in all I spent about 4 hours making these, excluding 2 false starts that made me glad I bought 2 12" long bars. Total cost of materials: $14.17. I did have to buy the 1/4-20 tap, and 3 drill bits, but for less than $25 total I think they came out great and do the job.